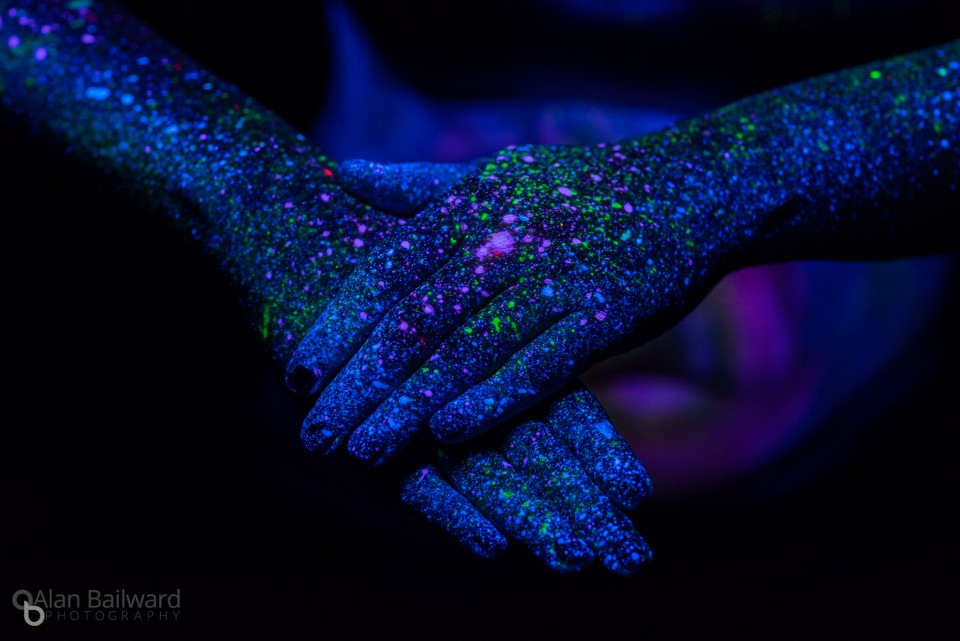
Today I did a photoshoot using a model body painted with UV makeup, and the photographed with a black light. The results are pretty amazing, but there are a lot of traps in there that you should be aware of.
The Photo Equipment
For this shoot I used my trusty Pentax K-1 with the FA 24-70/2.8 and Sigma 85/1.4. A few close up shots I did with the FA 100/2.8 as well. I had a bag full of flashes and modifiers, but… well just keep on reading to see why I don’t bother listing them here. Last but not least a simple black paper background on a stand.


Lighting
This is where it gets tricky. When I first was contacted about this shoot I agreed but didn’t think too much about the lighting. The model (the amazing Cassia) said she had lights when she asked me about the shoot and I didn’t think much more about it until a couple of days before when I started doing some looking around about how does one actually do a UV paint shoot.
First of all, I immediately went into know-it-all-photographer mode and said that the 20W bulbs she had would never provide enough light, even if they look like they do, the camera just won’t pick it up the same. I’d bring my flashes like the professional I am.
Then a bit more digging into what others have done turns out that there seems to be three ways to light up UV body paint:
- Modify your flash itself – costs about $500
- Buy UV filters from AliExpress – takes about 60 days
- Make a DIY filter for a couple of dollars which does the same thing.
Obviously I chose option #3.
I bought a shelf of clear transparent sheets ($19) and a pack of magic markers ($9.99). Then the two nights before the shoot I spent doing arts and crafts and following the DIY instructions to create a series of filters both for my flashes but also for a heavy duty work light I borrowed from my wife. This isn’t hard to do, just a bit tedious.
The Shoot
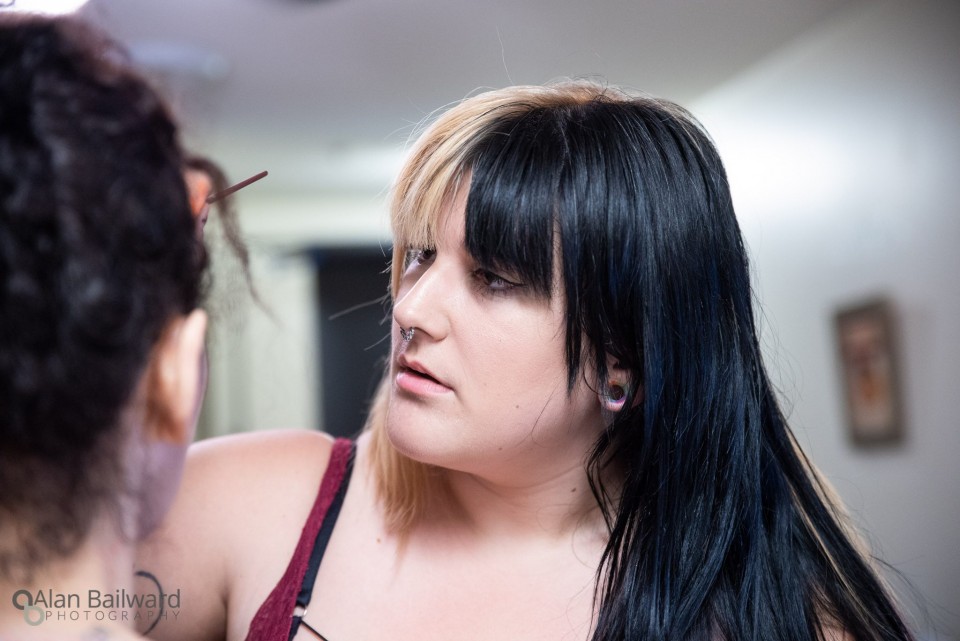
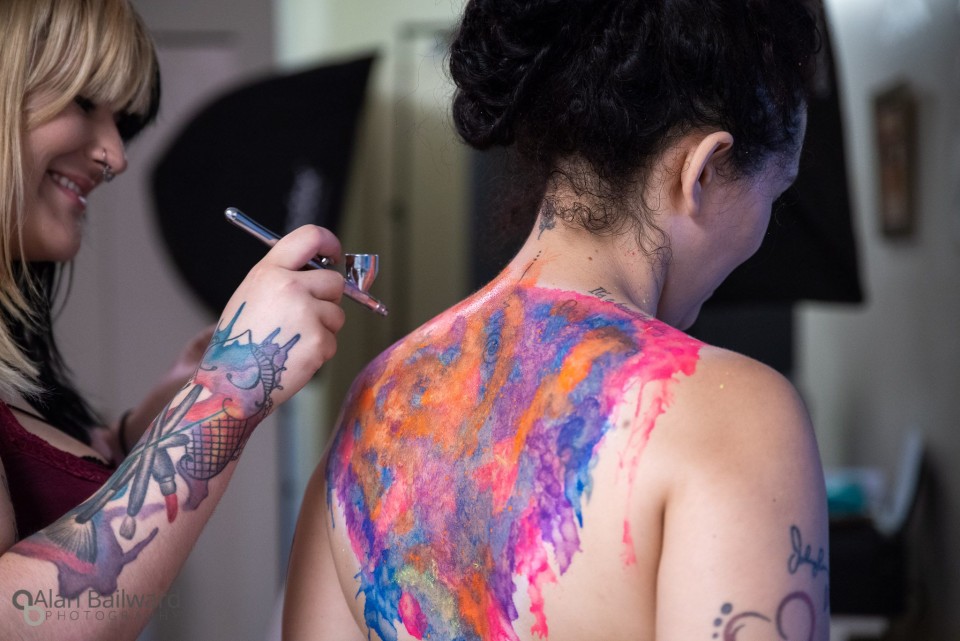
Getting to the shoot I set up my gear while the make up artist, Milana Bryan was finishing up the makeup. This was the first shoot of this type either of us had done, so it was going to be a learning experience for everyone.
First of all, remember how I said I spent two nights doing arts and crafts to make my own filters? First thing I figured out after I set up a couple of soft boxes in front of a black background was the filters don’t work.
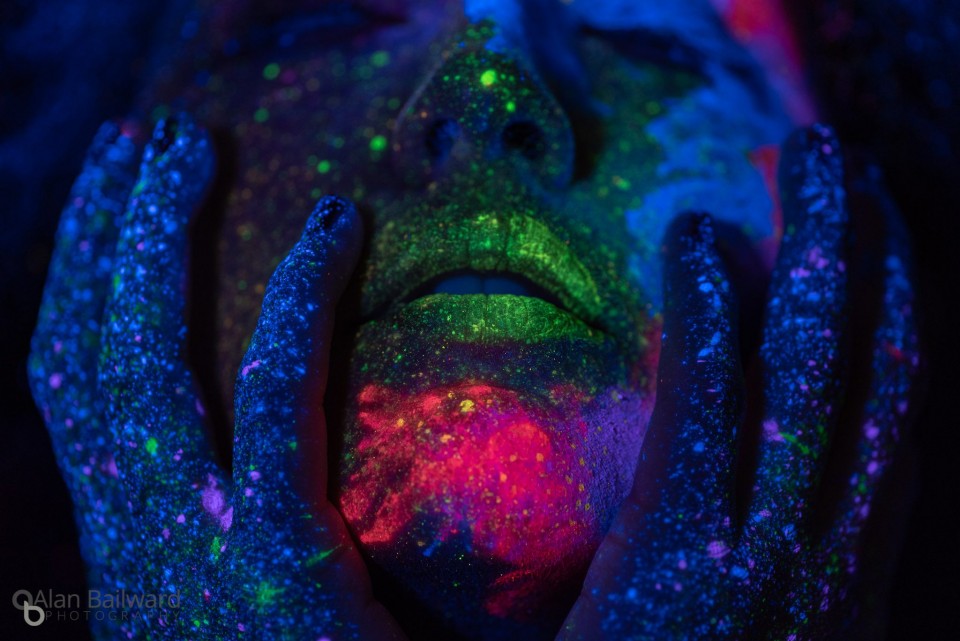
Well, they kinda work. They do make the paint fluoresce, but they also turn the skin a blue/purple colour, which makes perfect sense as the light is coming through a blue and purple filter. Unfortunately the look you get from a black light is very different. As you can see below, the black light makes just the paint fluoresce, and doesn’t light up the skin at all.
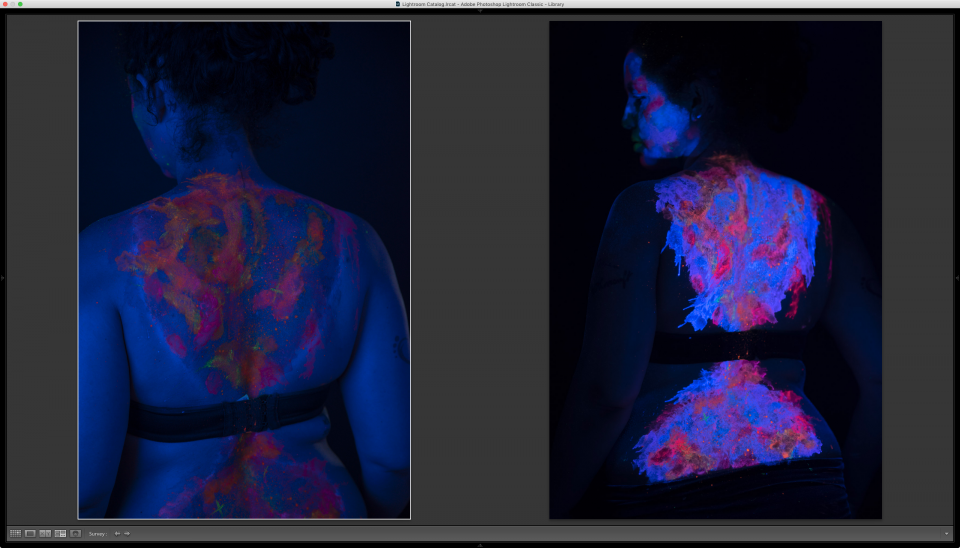
Left: DIY filter on speed lights at 1/16th power Right: 20W Black light in a desk lamp – both straight out of camera
You can see how the black light makes the paint colours pop way more and doesn’t light up anything but the skin, while the DIY filter creates less pop from the put a blue light on everything.
Needless to say, my “I know best” ego deflated and I packed up all my lights. The rest of the shoot was done with a 20W black light from Amazon in a desk lamp moved around by the makeup artist.
The Photos
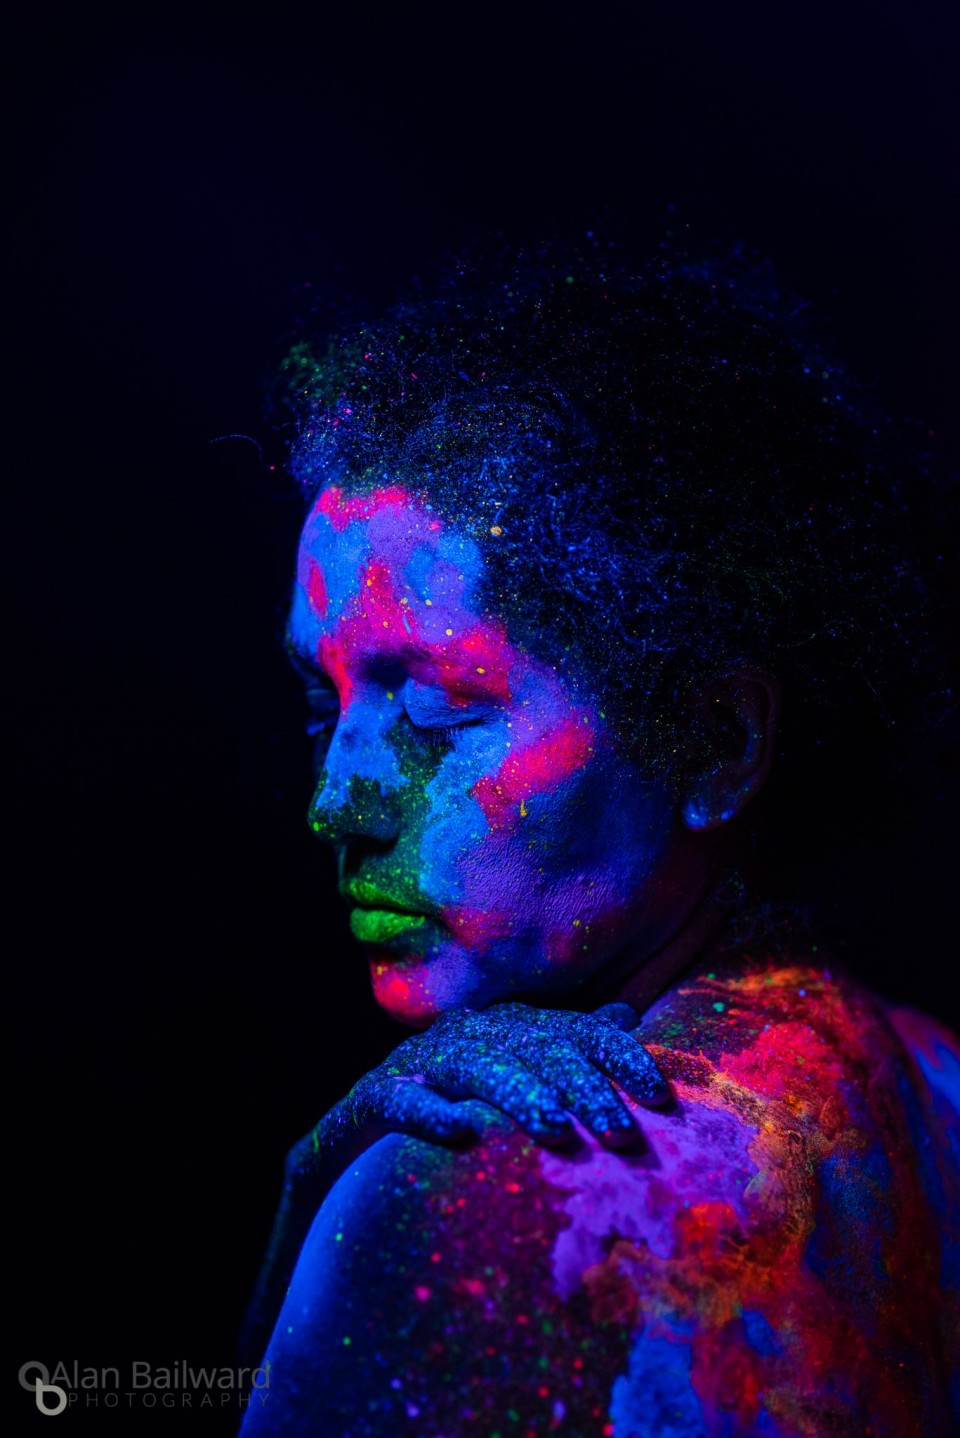
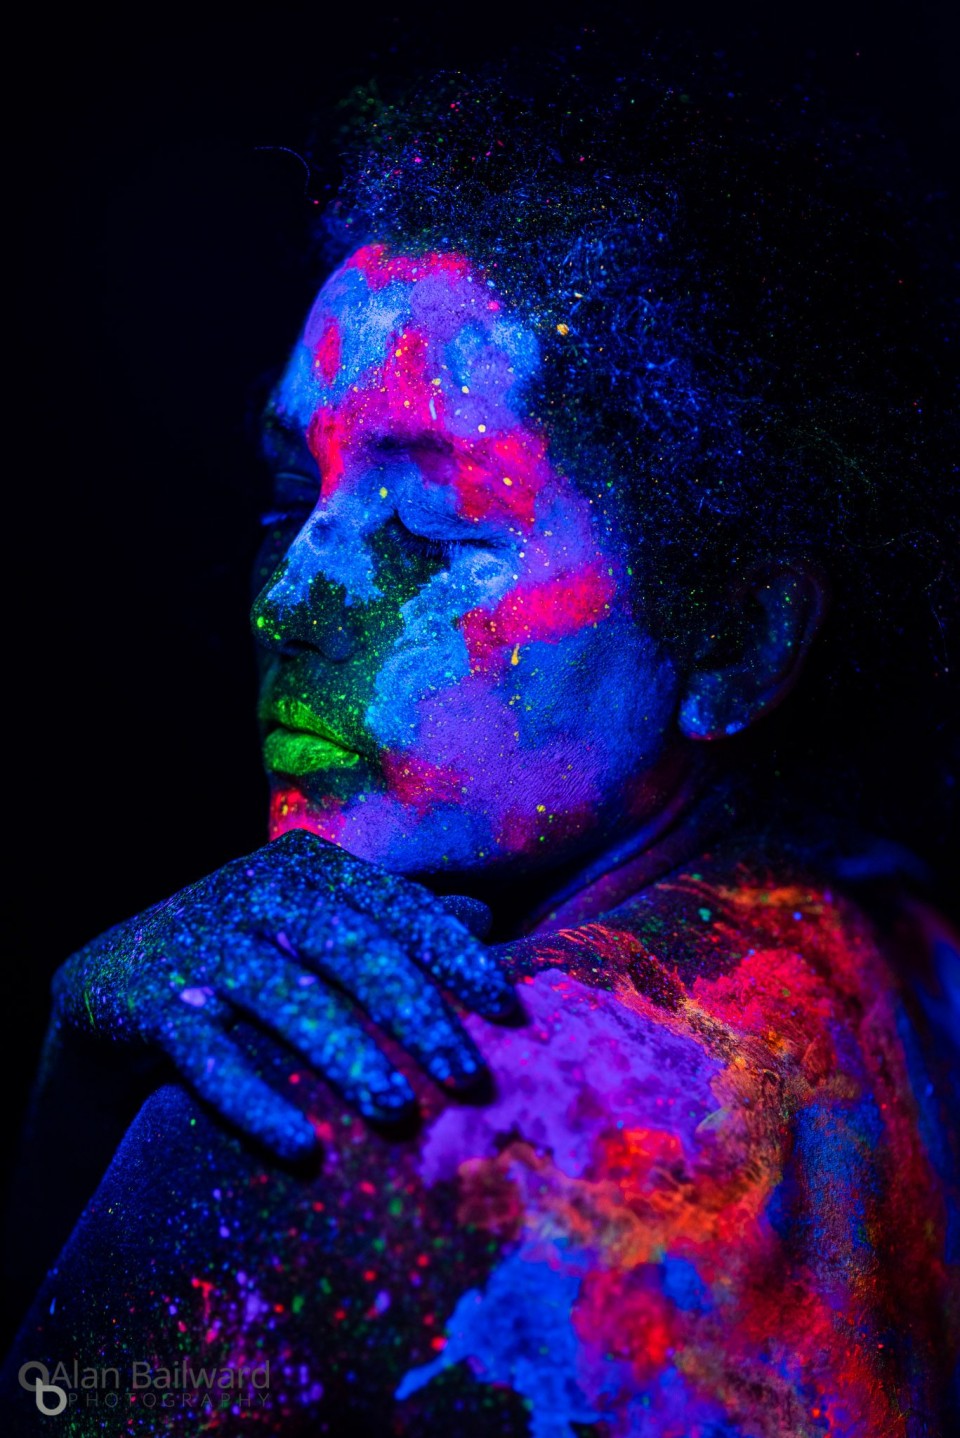
Because of the way that black light moves around, the traditional portrait lighting goes straight out the window (at least as far as I could tell), because you don’t have traditional light and shadow. The photos are more about the patterns of paint on the model and the model’s positions under them.
This is not the case all the time. In Ben Von Wong’s UV Photoshoot it looked like he was using more lights as well as far more props (headdresses, big flowing dresses, etc). Ben’s budget is a bit higher than mine though, I just had a model and a makeup artist.
Because I didn’t have to worry about soft light vs hard light, I basically moved the light around to emphasize one side of her face or body more than the other, and draw attention to specific areas (ie: the splattered paint in her hair).
Because the light wasn’t that bright, and because it couldn’t go too close to the model and show up in frame, I had to bump my ISO to 1250-2500 depending on the lens (the 85/1.4 was at 1250 and shot wide open or slightly stopped down, the 24-70 and 100mm macro were mostly at ISO 2000-2500).
One thing that we tried and (mostly) failed at is taking photos of the paint being washed off. I thought it would be great to have the model in the shower with her back in the water and showing the water washing the paint away. Unfortunately because water doesn’t show up in black light at all the effect just didn’t show up. Because the body paint was already fairly “organic” looking you couldn’t really tell it was being washed off, and the photos just seem to show the body paint slowly disappearing. I’m not sure if this is something better done with water laced with UV paint or not… maybe next time!
Post Processing
Honestly not a lot of post processing was done on these images. You can see from this comparison that essentially it was a bit of punch to the colours, contrast and clarity, and dropping the blacks to make sure that the blacks stayed black – and that’s about it.
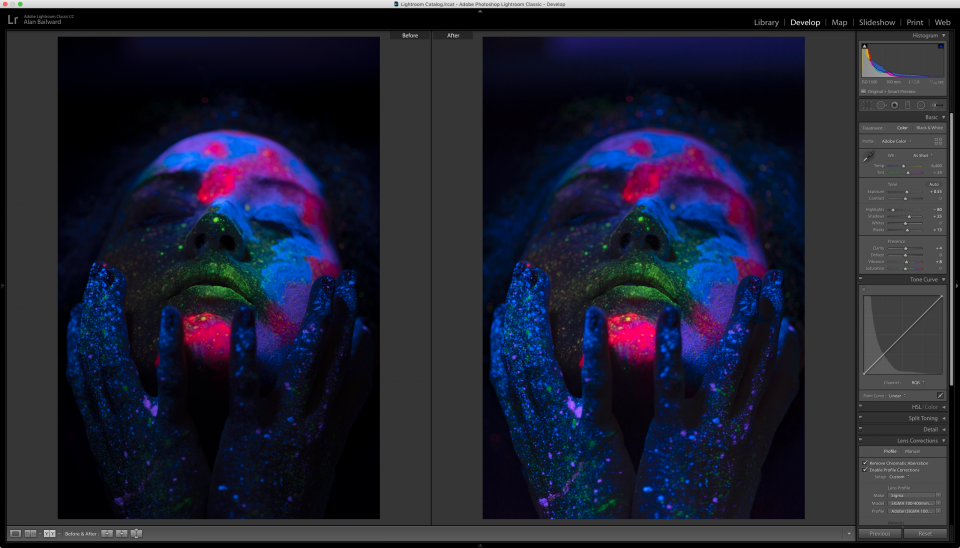
I did find that moving the whites slider gave a bit more brightness to the paint, but most of the
Take Aways
After this shoot I have a few take-aways that people doing shoots like this in the future might take advantage of.
- DIY filters don’t work. Or at least not the same as a black light does. Get a real black light bulb (or three in a constant light setup), or a proper UV filter for your flash.
- It’s not about the light modifiers, it’s about the model’s posing.
- I never got to play with light modifiers so the above might be completely wrong.
- Because non-painted skin doesn’t show up at all, make sure that when the makeup is put on your model’s arms and hands as well, so that they can be posed and not show up as black bars.
- A black background isn’t strictly needed as black light doesn’t bounce around like white light does, but it’s probably a better idea to have. You don’t have to worry about the model’s distance to the background though as the black light won’t bounce off it and lighten up your model like with white light.
- Make sure that the paint is water soluble for easy clean up! It can get everywhere (floors, walls, fingers and gear) so make sure it’s easy to get off.
Hopefully this helps you a little bit for your future shoots. If you do do a black light shoot I’d love to see your results! Share it and tag @bailwardphotography on Instagram or Facebook.
Credits
- Model: Cassia Kitagawa
- Makeup Artist: Milana Bryan
- Photography: Alan Bailward
The post Black Light and UV Paint Body Painting Photoshoot appeared first on Alan Bailward Photography.


